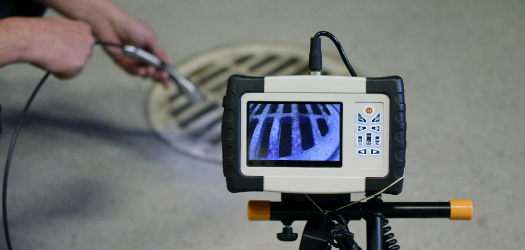
Boroscope Inspection or Remote Visual Inspection is an established and valuable technique for quality control, maintenance and troubleshooting applications. Remote visual inspections can be performed with limited downtime to maximize safety and increase productivity.
Our company by the use of experienced and professional Inspectors working for many years with various inspection procedures can offer to our clients a quality inspection for the inspection of gas turbine engines,for the assessment of the integrity of process lines and for well functioning of the various components ,finding foreign material and contamination sources in the interior piping and vessels, Checking internal welds for individual standards etc.
By the use of boroscope equipment the dismantling of the systems is prevented to a greater extent.
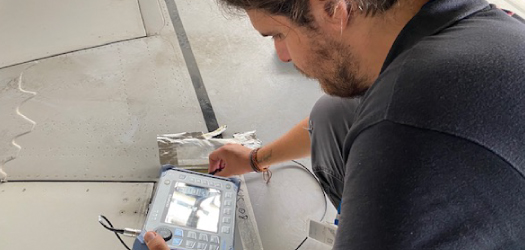
Also known as Visual Inspection, VT is one of NDT methods used extensively to evaluate the condition or the quality of a weld or component. It is easily carried out, inexpensive and usually doesn’t require special equipment.
It is used for the inspection of welds and other components where quick detection and the correction of flaws or process related problems can result in significant cost savings. VT is the primary evaluation method of many quality control programmes.
Our experienced inspectors qualified to PCN Level 2 and CSWIP 3.1 can offer a professional detailed visual inspection of welds and components by the use of special tools and measuring equipment.
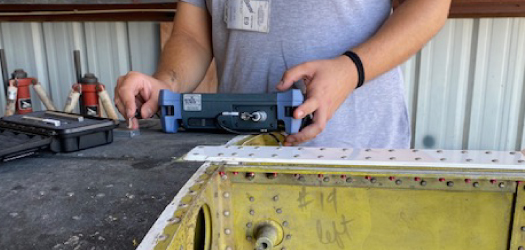
DVI would be used to identify areas requiring more in-depth inspection such as weld assessments.
As the name suggests, this is a detailed and close up visual examination of welds, storage tanks, vessels , pipelines, components and structures.
Detailed Visual Examination can be used prior to any other NDT method for the detection of defects to newly fabricated assemblies, in-situ structural assemblies to detect fatigue induced cracking, stress cracking, corrosion etc.
Our experienced inspectors qualified to PCN Level 2 , CSWIP 3.1 and boroscope Inspections can offer a professional detailed visual and remote visual inspection by the use of special tools and measuring equipment.
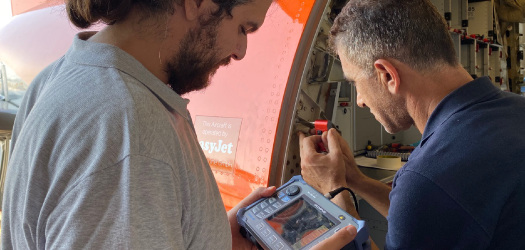
CSWIP is an internationally recognised mark of competence for people engaged in welding and/or inspection related jobs in manufacturing, constructing, operating or repairing high integrity welded structures, plant or components.
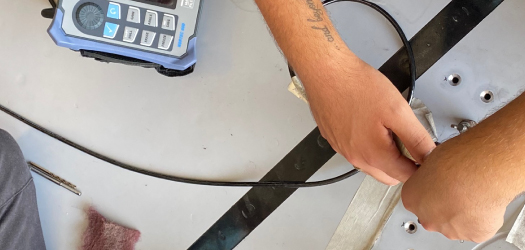
This is a widely used technique for identifying surface breaking flaws in all non-porous materials, either ferrous or non-ferrous, although mainly used on austenitic stainless steel assemblies, components and structures.
Our Inspectors certified to PCN Level 2 and Level 3can offer Dye Penetrant , Fluorescent Penetrant Services and Instruction writing in the Aerospace and Industry sectors.
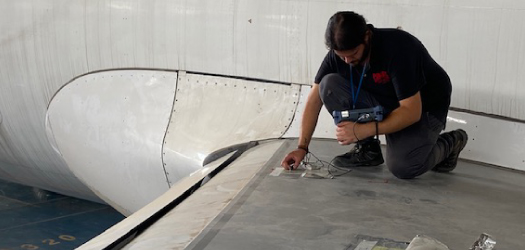
MPI is a method of detecting both surface and subsurface flaws in ferromagnetic materials, castings, forgings and welds .The principle of MPI is that when a current is applied to a conductor, a magnetic field will occur. The induced magnetic field will produce a flux leakage field around any discontinuities in the item – this leakage field is revealed by applying ferrous iron particles (usually from an aerosol) to the surface of the item. These ferrous particles cluster at areas of flux leakage to give indications of flaw in the item.
Our company is equipped with a stationary system that is generally used for the inspection of smaller parts in the workshop and portable AC and DC Yokes that can be used indoors or outdoors for the inspection of welds, vessels and tanks etc
External longitudinal seam of an inservice boiler being checked with magnetic particle examination using an AC yoke with dry powder. Our Inspectors certified to PCN Level 2 and Level 3 can offer Magnetic Particle Inspection Services and Instruction writing in the Aerospace and Industry sectors for materials, components and structures.

Eddy current inspection is one of several NDT methods that use the principle of “electromagnetism” as the basis for conducting examinations. Several other methods such as Remote Field Testing (RFT), Flux Leakage and Barkhausen Noise also use this principle.
Eddy currents are created through a process called electromagnetic induction. When alternating current is applied to the conductor, such as copper wire, a magnetic field develops in and around the conductor. This magnetic field expands as the alternating current rises to maximum and collapses as the current is reduced to zero. If another electrical conductor is brought into the close proximity to this changing magnetic field, current will be induced in this second conductor. Eddy currents are induced electrical currents that flow in a circular path. They get their name from “eddies” that are formed when a liquid or gas flows in a circular path around obstacles when conditions are right.
One of the major advantages of eddy current as an NDT tool is the variety of inspections and measurements that can be performed.
Eddy currents can be used for aircraft maintenance inspections, detection of surface cracks, second and third layer cracking in multi layer structures and corrosion.
The use of `Weld Scan` probes simplify the inspection of steel structures for fatigue cracks.These probes minimise the effect of coatings,geometry and permeability. Eddy currents can also be used for the following:
Conductivity measurements for:
Our trained and experienced eddy current Inspectors certified to UK PCN Level II and Level III can offer the above services for the Aerospace and Industry sectors.
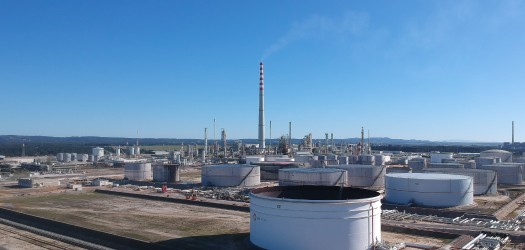
This method of testing utilises sound waves which are introduced into the component via an ultrasonic source.As the sound travels through the material reflections or echoes occur from the back surface. In addition any internal discontinuity will reflect the sound wave and generate a signal into the receiver. The time lags of the echoes are measured to determine the thickness of the material and the distance to the discontinuity.
Ultrasonic inspection can be used for flaw detection/evaluation, dimensional measurements, material characterization, lamination detections etc. The most commonly occurring defects in welded joints are porosity, slag inclusions, lack of side-wall fusion, lack of inter-run fusion, lack of root penetration, undercutting, and longitudinal or transverse cracks which can be easily found by the use of the right ultrasonic probes and by the correct calibration of the ultrasonic equipment.
Our company Inspectors qualified to PCN Level II and Level III can offer the above inspections in the Aerospace Sector for aircraft materials and components, structures and Instruction writing and in the Industry sector for the inspection of butt welds in plates and pipes, nozzles and instruction writing.
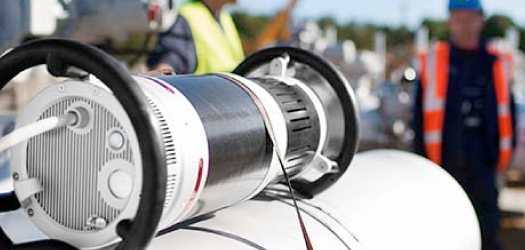
A source of ionising radiation positioned at on one side of item to be inspected, and a photographic film placed in close proximity to the other side. The radiation is partly absorbed during transmission and differences in material thickness or absorption qualities are recorded on the film giving a full-size image showing internal detail. The higher the Material density more radiation absorbtion will occur.
Processed films are called radiographs, Industrial radiography requires X-rays or gamma rays to reveal hidden flaws in solid objects. X-ray radiography is generated electrically by means of a high voltage X-ray tube. Gamma rays are produced by the natural disintegration of nuclei in a radioactive isotope. Common types being Iridium 192 and Cobalt 60.
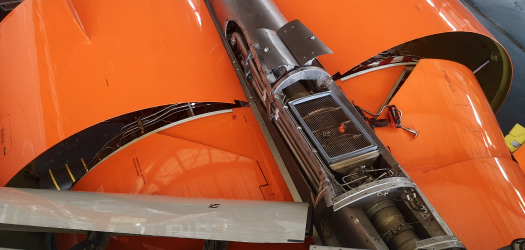
Personnel holding the PCN Level 3, the highest level in NDT ,are qualified to direct any NDT operation for which they are certificated and: assume full responsibility for a test facility and staff. Specifically, they are competent to establish and /or validate NDT Instructions or procedures, interpret codes, standards, specifications and procedures, designate the particular test methods, technique and procedures to be used.
Level 3 personnel can interpret and evaluate test results in terms of existing codes, standards and specifications, they have the required level of knowledge in applicable materials, fabrication and product technology sufficient to enable the selection of methods and techniques, and to assist in the establishment of test criteria. A general familiarity with other NDT methods,the ability to guide personnel below level 3.
Our NDT Inspectors with more than 20 years experience in all NDT methods can offer the above services.